New work: Flabbergasted Designs
This has to go down in the books as one of my favourite shoots to date, there are lots of reasons. Firstly because I got to do something that has been on my wishlist for a long time - build a little landscape for the products to live in! Secondly, because this was my first session in my fancy new photography studio (more about that another day) and finally because … how cute are these products from Flabbergasted Designs?!
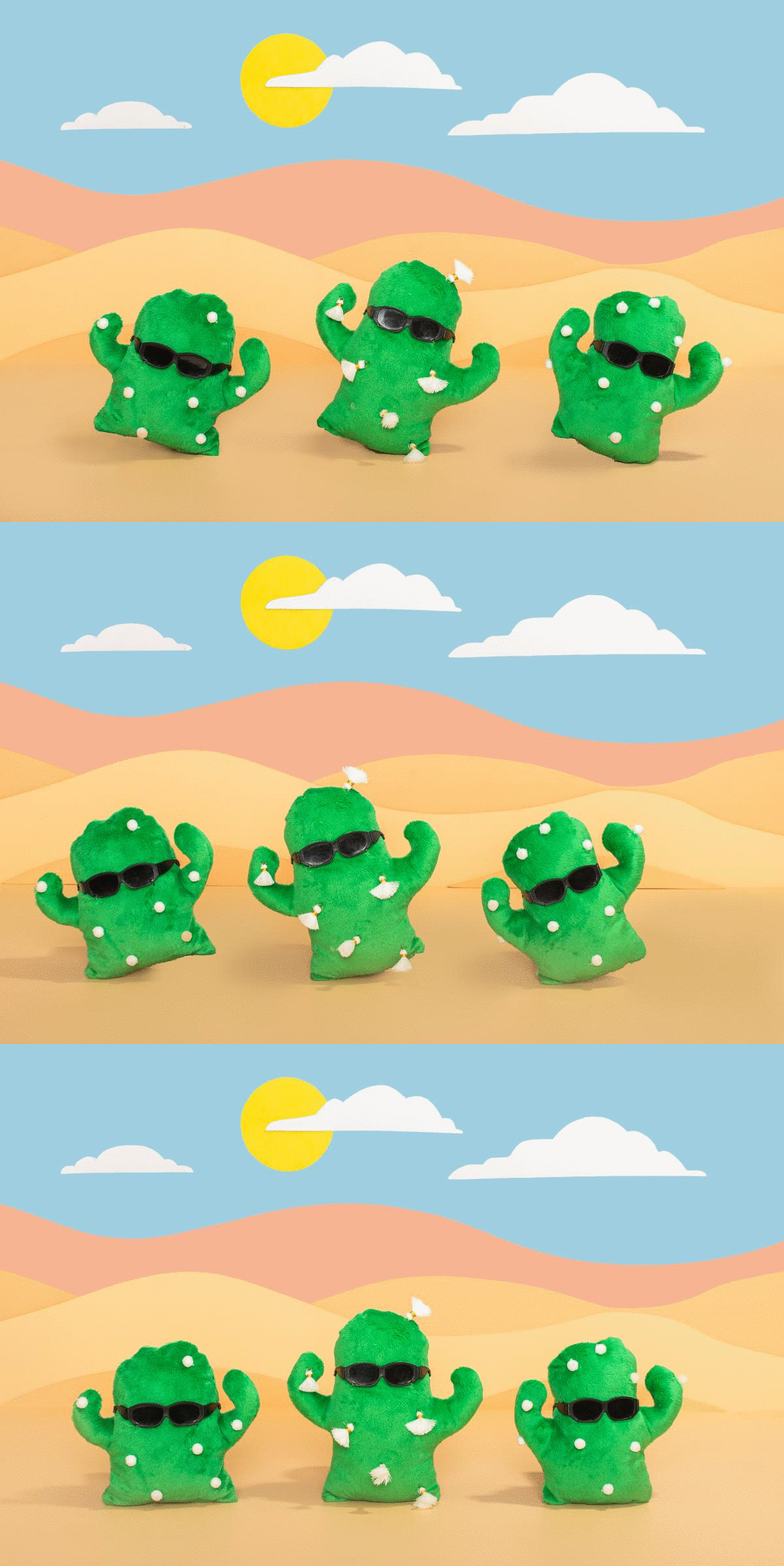
This desert scene was my favourite to work with. I created the sand surface and the three layers of sand dues all out of MDF which I cut to shape and painted. I matched my shades of paint to the colours appearing in the Flabbergasted logo - which was a really fun palette to work with. I created a cactus prop out of paper to finish off the scene and I decided I wanted to create a sunset sky for this little guy, so I photoshopped in a pink and blue gradient later.
For the next series of shots I used a blue sky backdrop made out of MDF. I wanted to add in some details to the sky so I created a sun and clouds out of paper. I wanted these aspects to have some depth so I attached them to the background with a layer of styrofoam (yay for finding a good reuse for annoying box packaging!)
I was able to use this desert scene twice, once for the camel softy and again for the cute little cactus rock and rollers! I created three images of these cactus guys and sewed them together into a GIF to make it appear as if they were dancing…Because who doesn’t love a dancing cactus?
I was able to upcycle my desert scene for the llama soft toy by making a few small tweaks. I added a green MDF board for the surface - to represent grass and I painted one of the sand dunes green to look like a mountain. I was careful to match the green in the trimmings of the toy to the colour of the grass and mountain - to create colour balance and harmony. I also added a little yellow paper daisy for detail and to balance the pop of yellow.
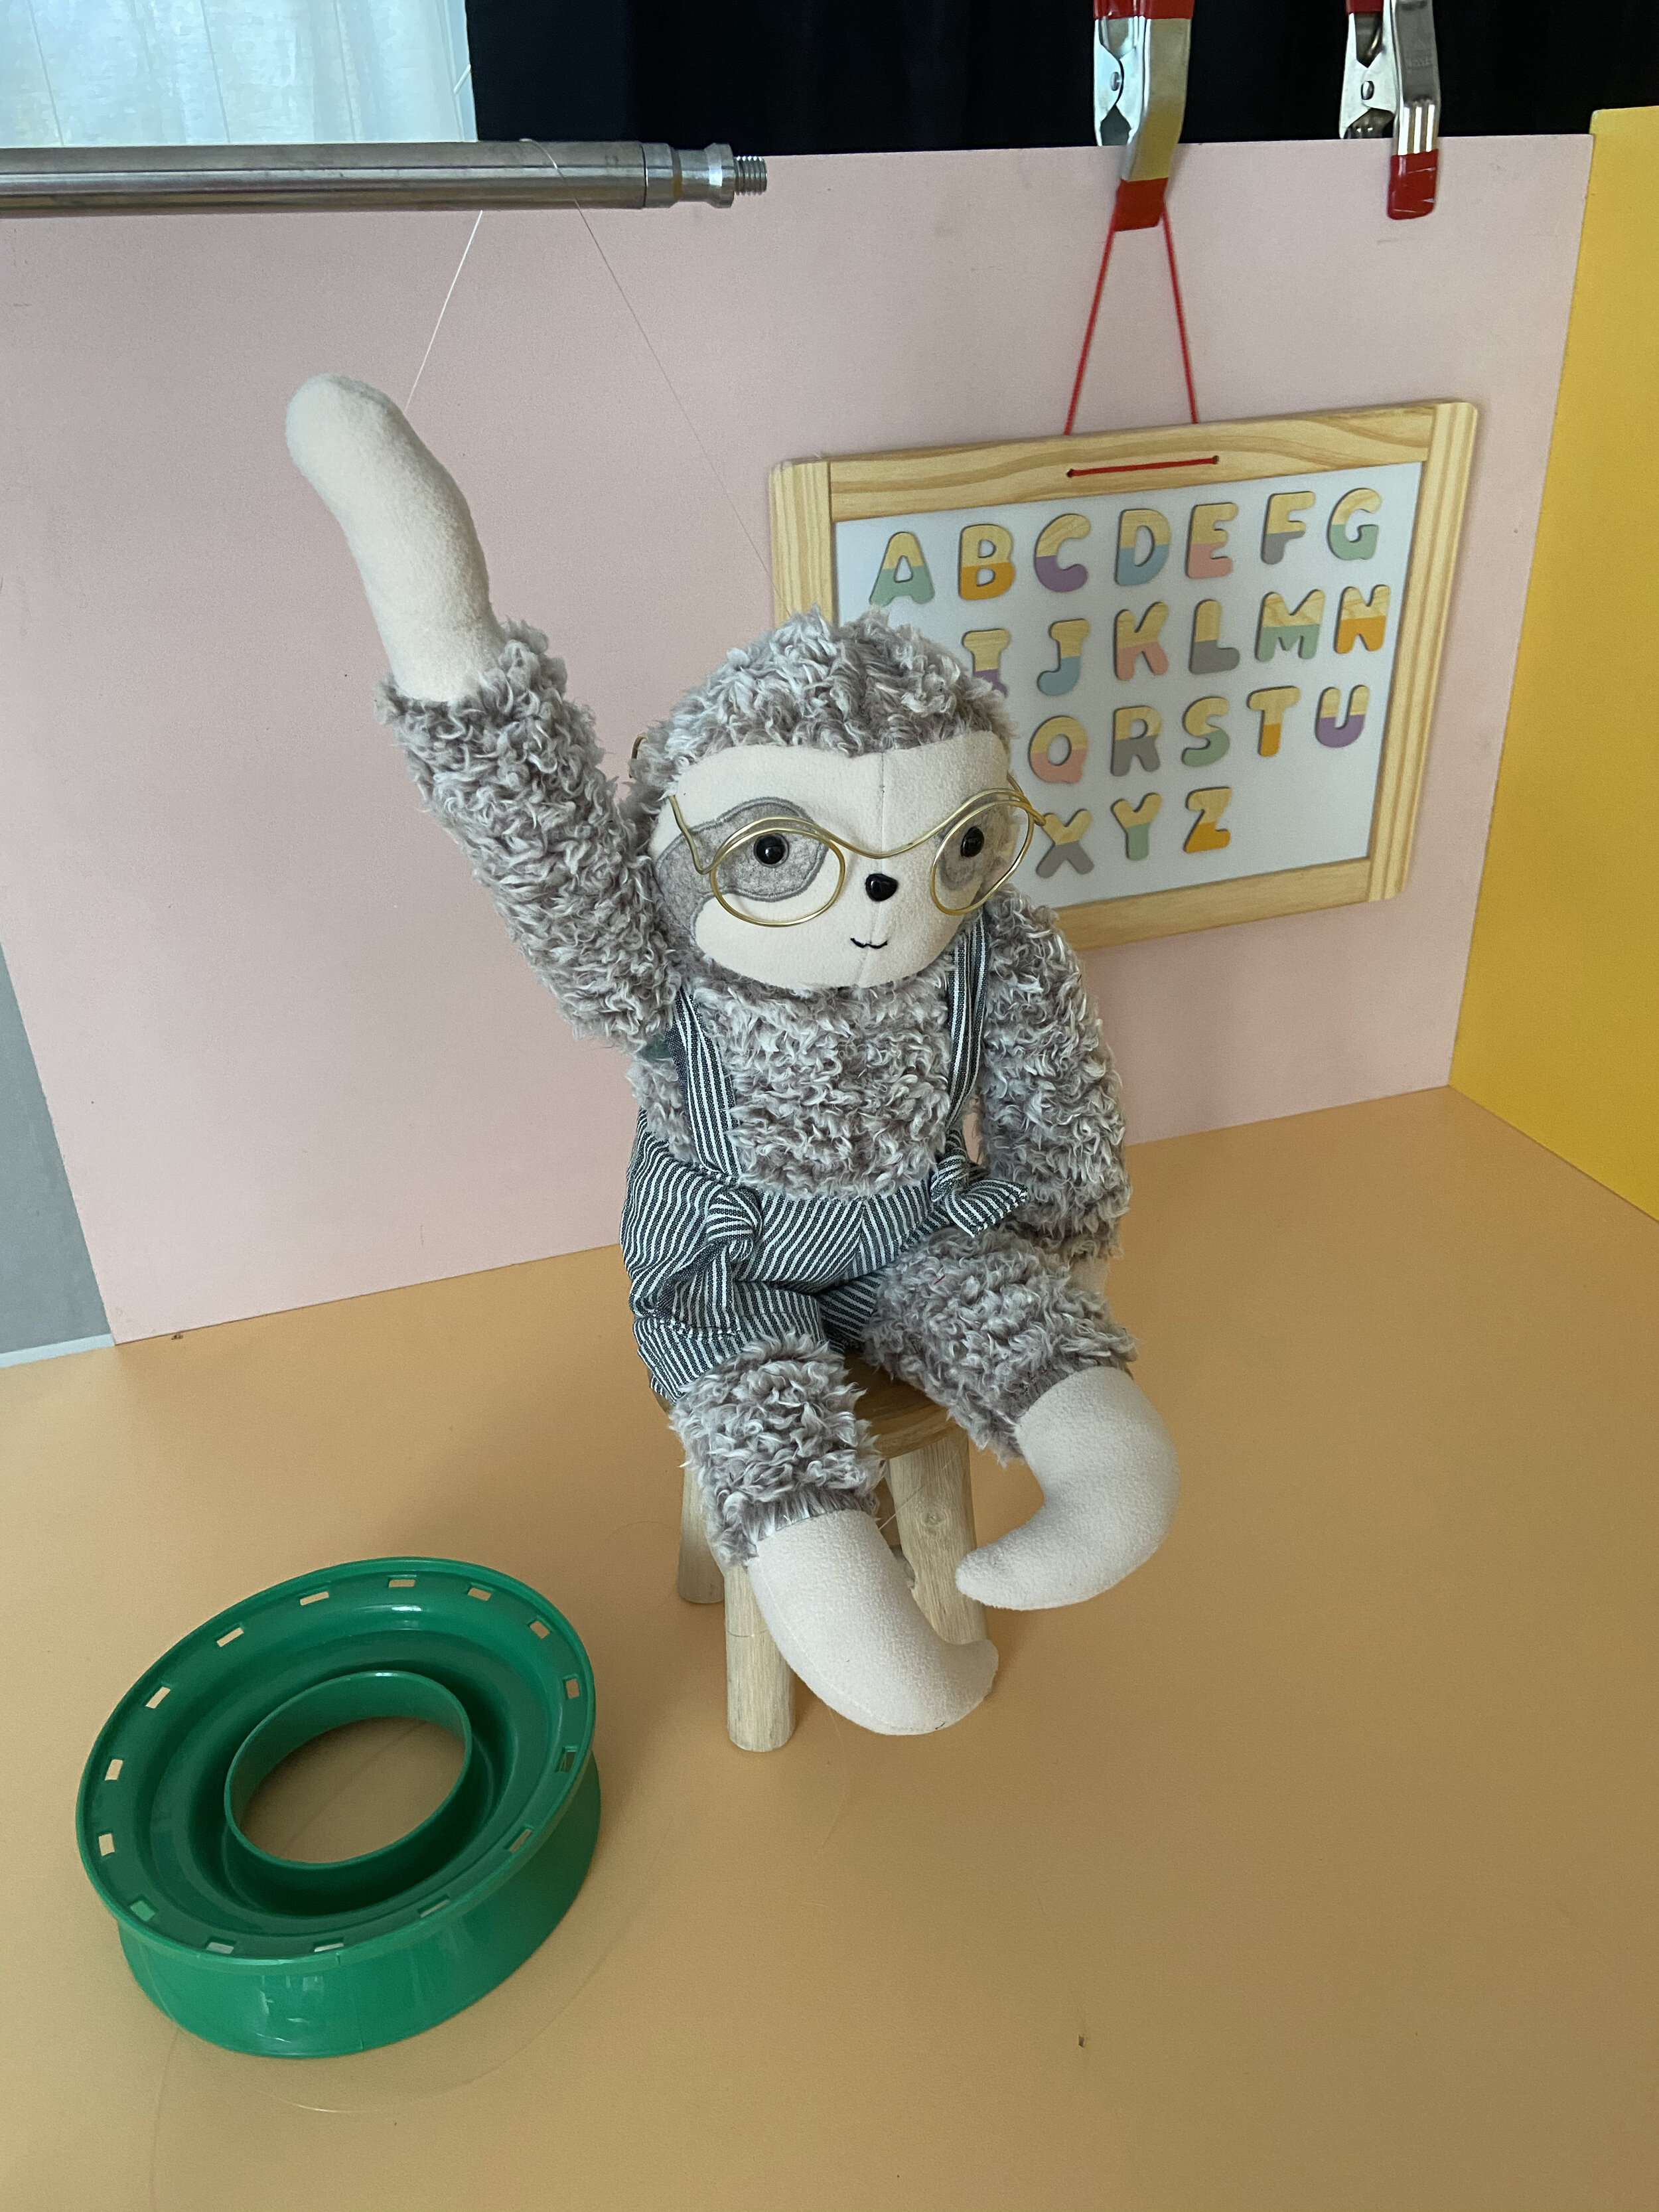
Last of all we had this adorable sloth guy. Because he is dressed in a backpack and glasses we thought it would be great to create a classroom environment for him. So I used three painted MDF boards to create a 3 walled room. Mercia (from Flabbergasted) created the adorable little stool which he is sitting on and I managed to find the white board with alphabet magnets which perfectly matched our colour theme at kmart.
To animate him a little more I strung his arm up (as if he is answering a question). To do this I used a piece of equipment called a c-stand and some fishing line.
I hope you’ve been inspired by this shoot and enjoyed getting a bit of behind the scenes insight into how I created these images. If you’d like to learn photography with me you can check out my courses and webinars here. If you’d just like to hire me to take some images for you, you can do that too! Find a bit of info about product photography here.
To check out more beautiful creations from Flabbergast be sure to follow her on instagram @flabbergasteddesigns


