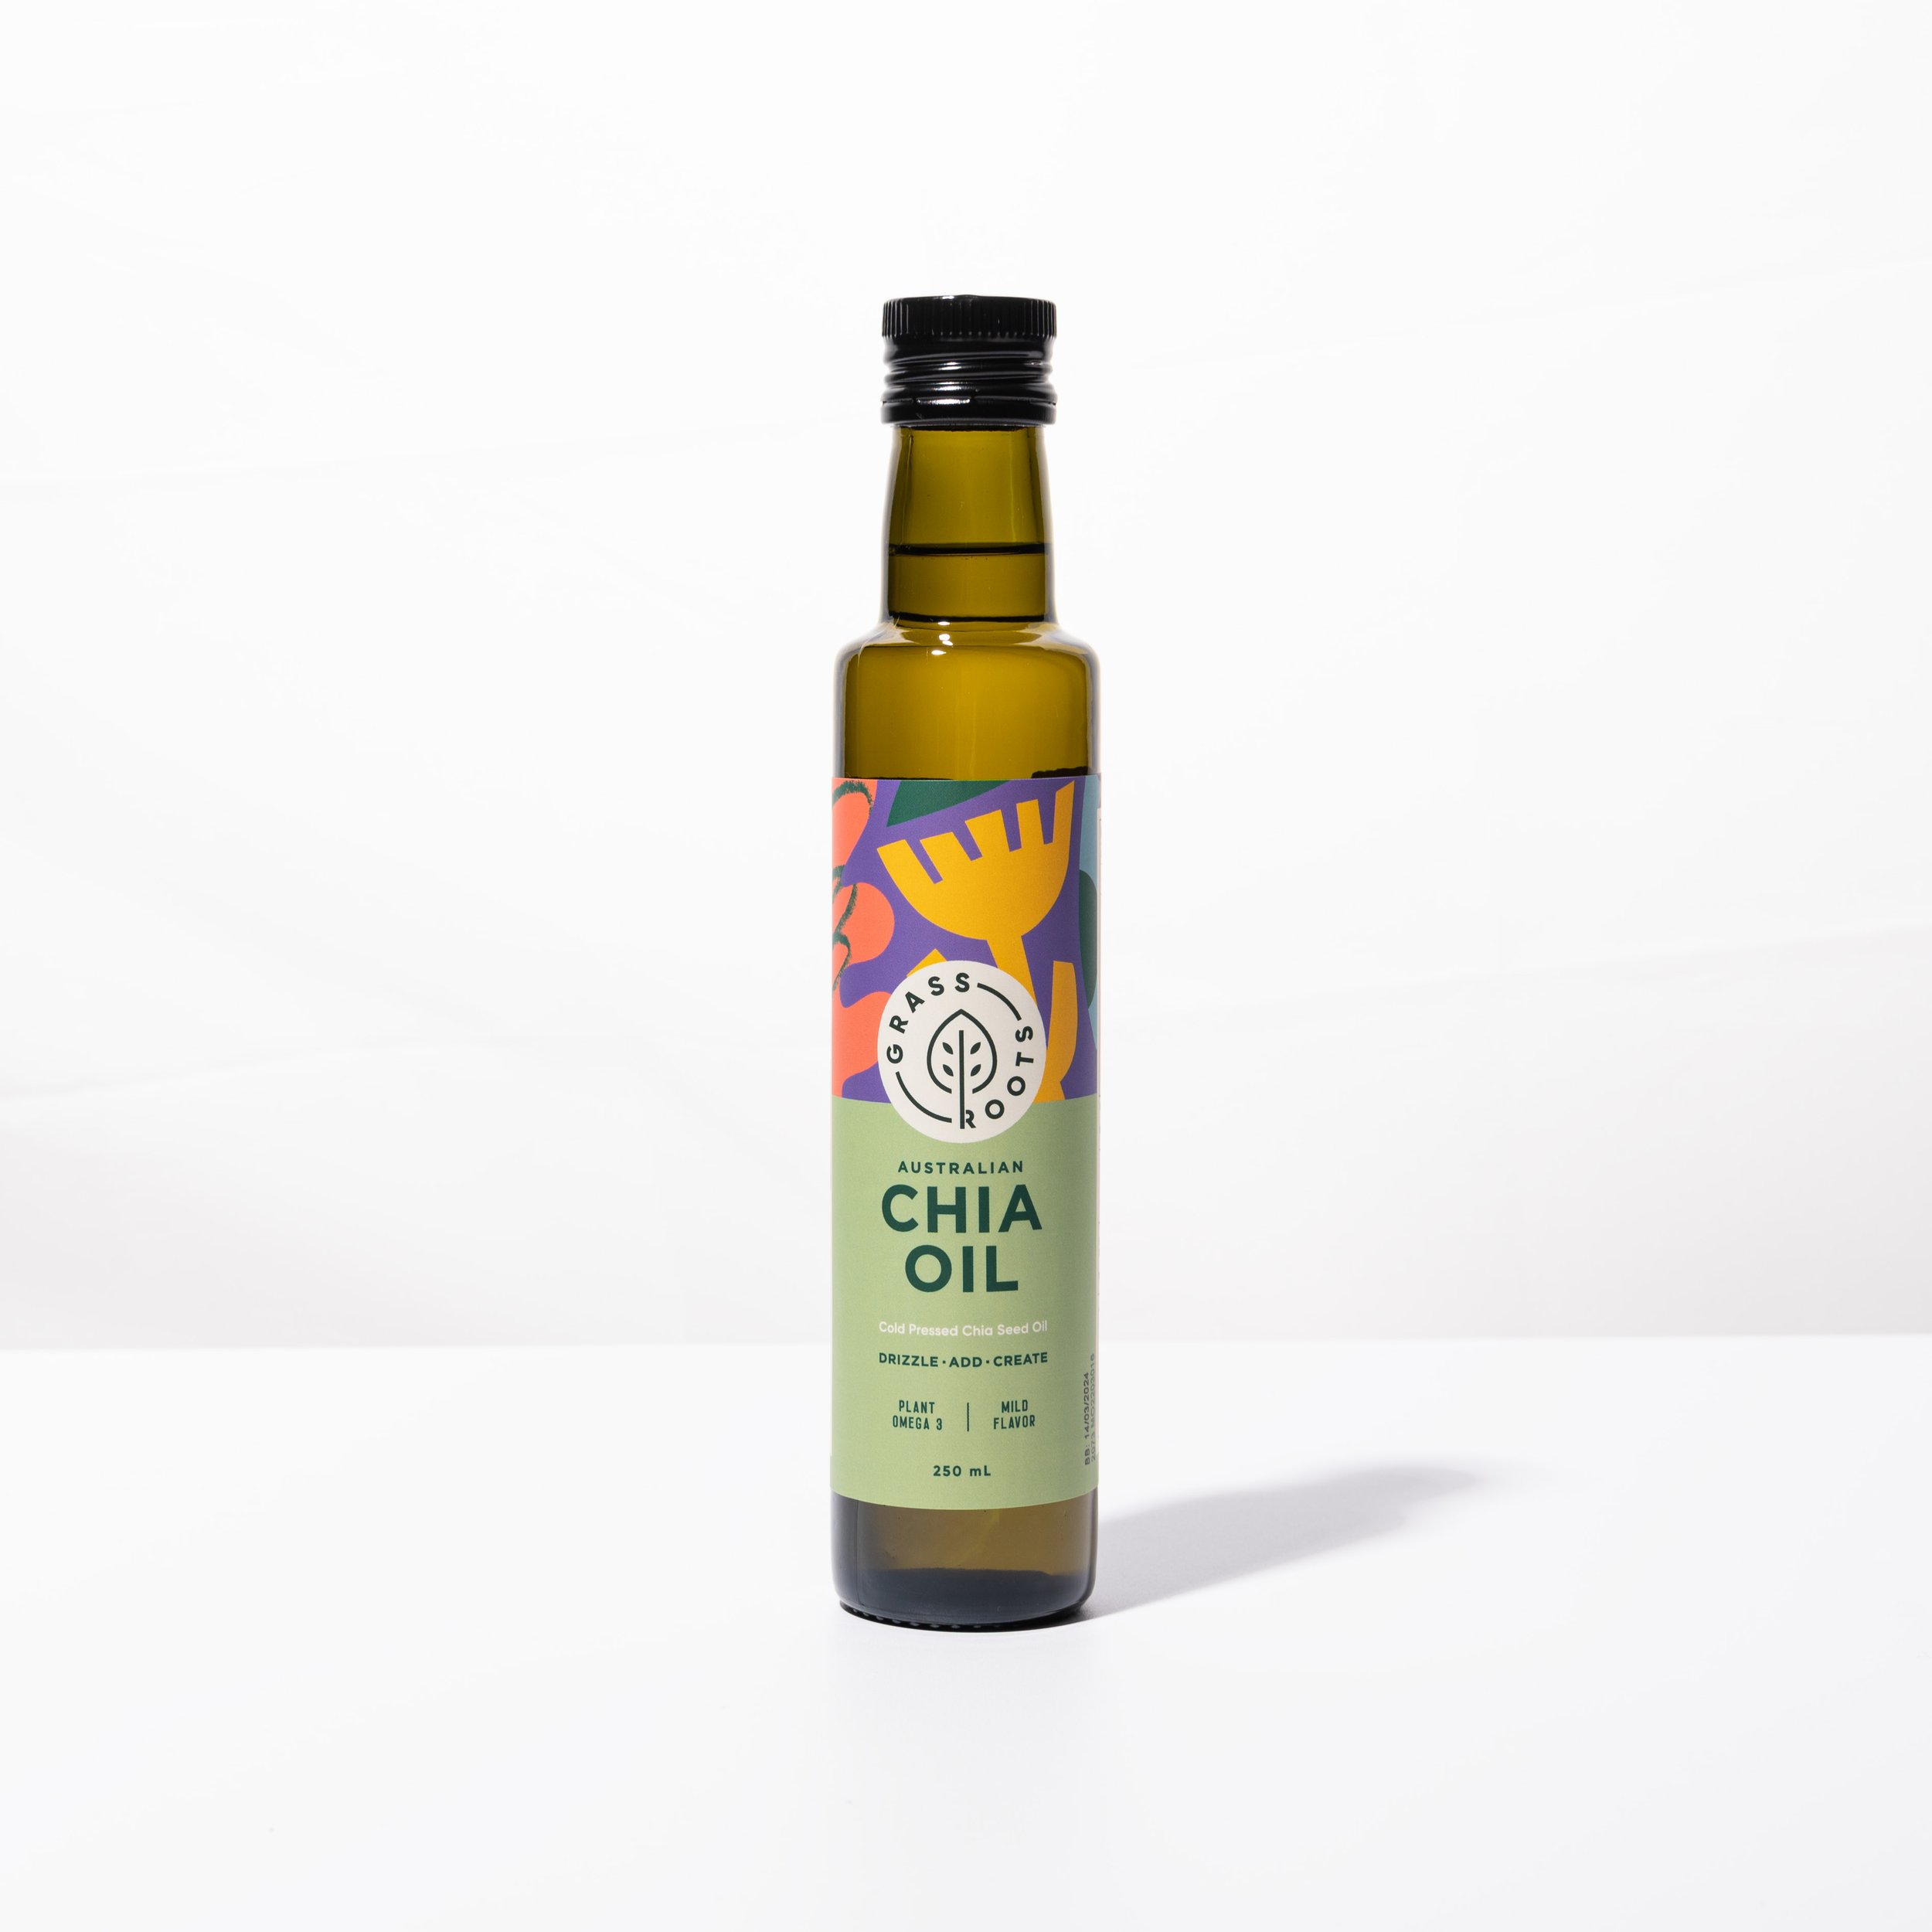
Removing the background from product photos
Even if your photos were taken properly with good lighting and exposure, you will notice that your “white backdrop” looks more light grey than it does white (especially when you place that image on a website with a pure white backdrop!)
The best way to fix this issue is to remove the background of your product image and replace it with pure white. This will mean that you have exactly the same shade of white in all your images and they will look bright and clean on a white website.
BEFORE AND AFTER EXAMPLE:
BEFORE
AFTER
REMOVING THE BACKGROUND WITH PHOTOSHOP
There are lots of apps which allow you to remove the background from images on your phone with just one click. My favourite app for one-click background removal is CANVA. But yes, you do need to pay for it.
Unfortunatley, this one click background removal will not retain the product shadows. To do this you will need to use a more advance editing tool such as photoshop and the process takes a little more skill.
Here is a video tutorial on how to create a white background product image while preserving the drop shadow:
OK, so there you have it. I hope this blog has been helpful and gave you some insight into removing the background of your images. As always, if you create anything awesome please share your pics in the Facebook Group Photography for Makers - I’d love to see your work!


