Types of backgrounds
In honour of spring I’ve done a clean out of my studio and got everything organised. This got me thinking about how many different backdrops I’ve collected, so I thought I’d do a little blog on some of my favourite backdrops for product photography.
Paper
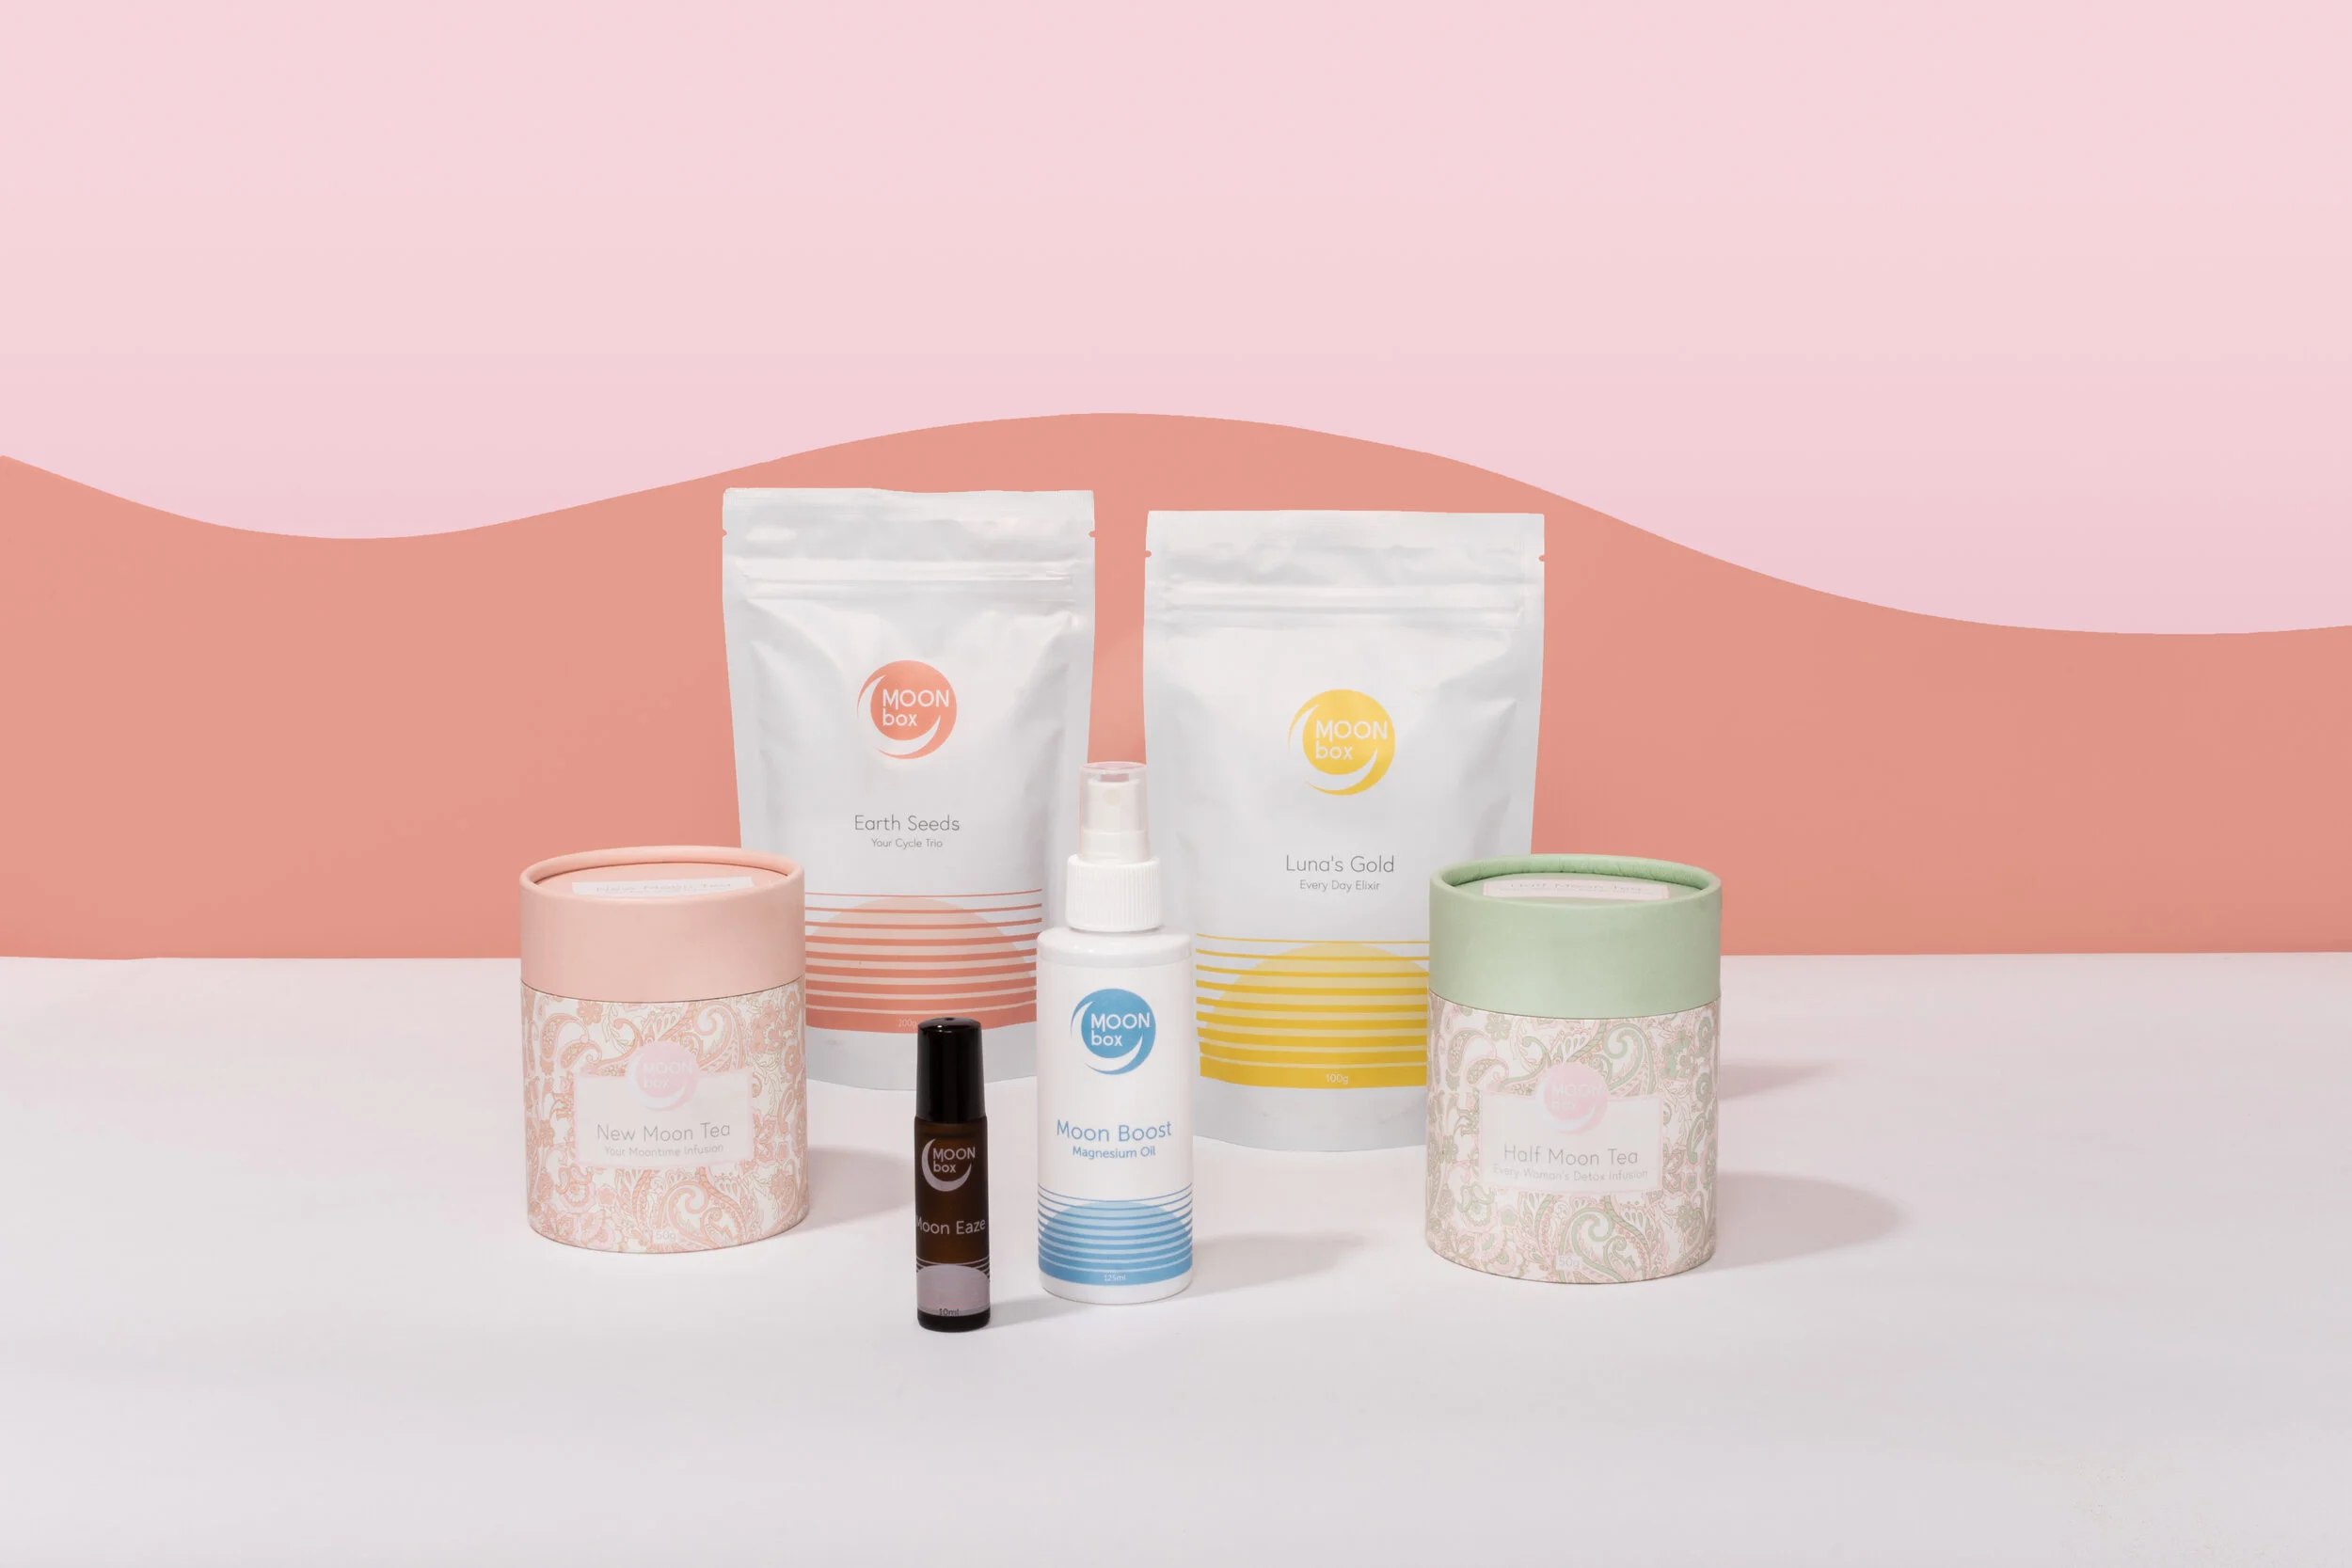
This type of background is one of the easiest for beginners because it requires very little leg work. If you are working with small to medium size products you can simply head to your local art store and grab yourself some paper in the colour of your choosing. It makes a great surface or background. You can also curve the paper between the wall and background and create a seamless backdrop (like the one below).
If you are working with larger products or people, you might be better off purchasing a larger roll of paper. You can get this from suppliers such as savage paper.
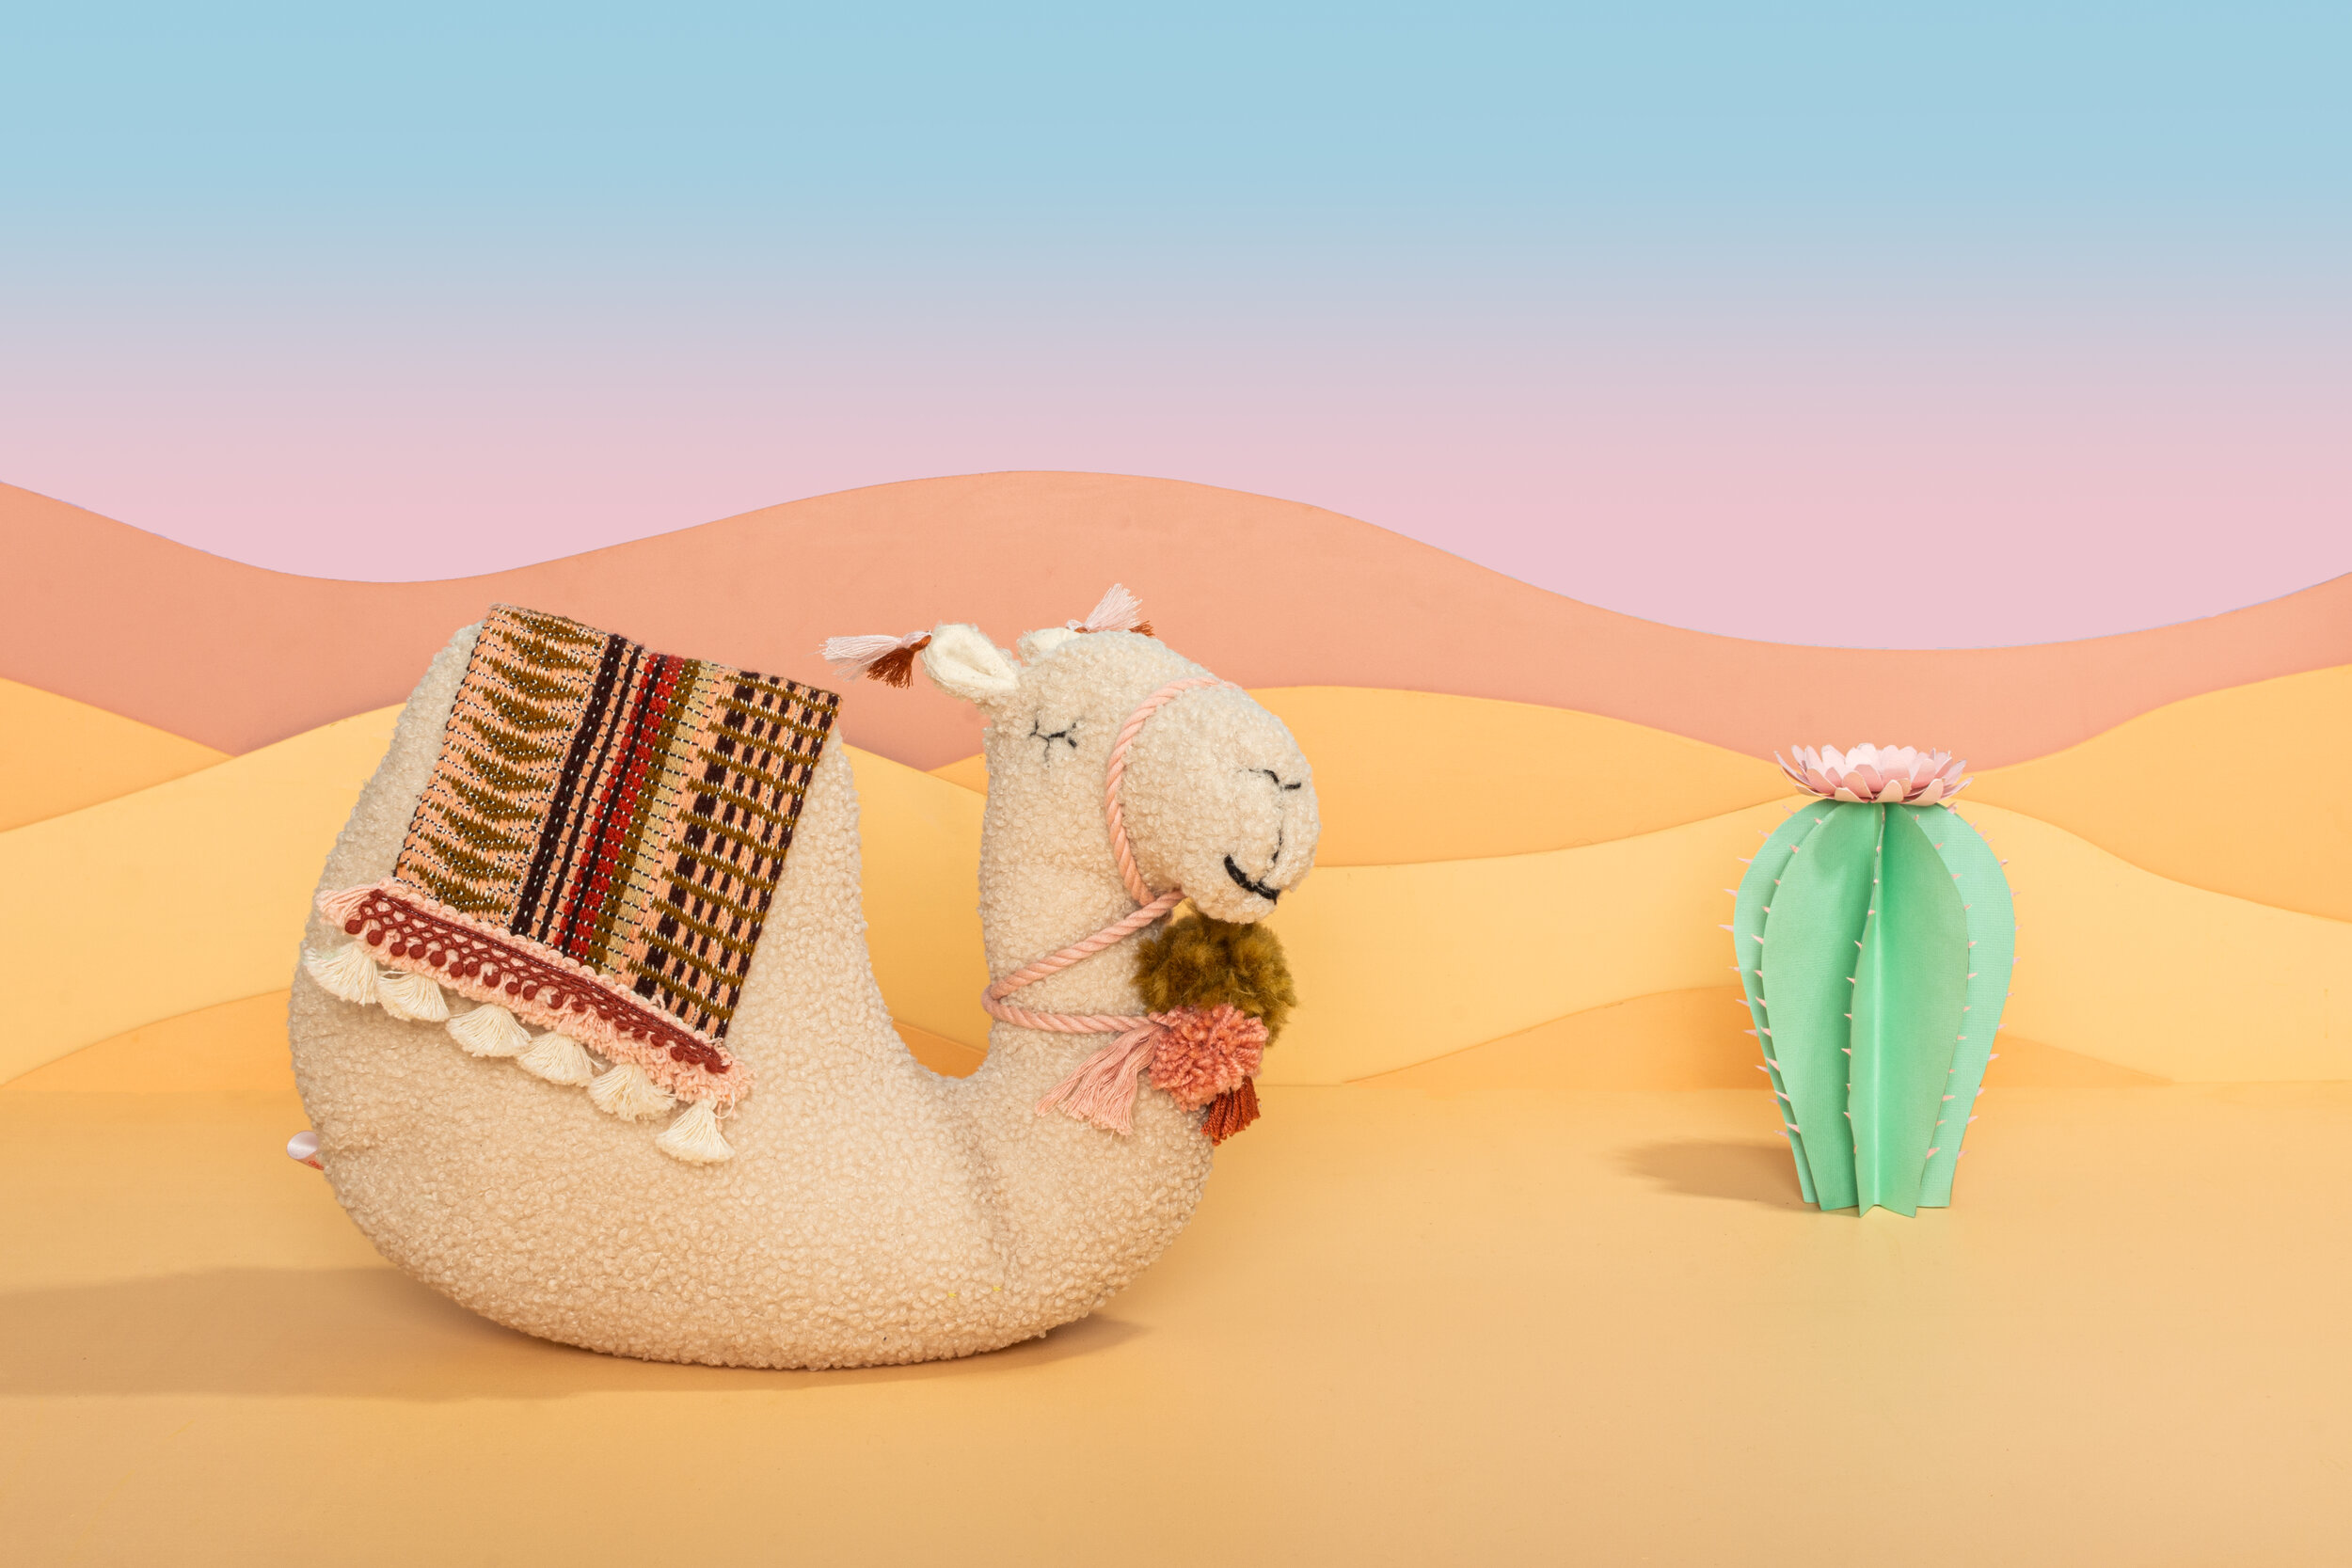
You can get creative with your use of paper. Not only does it make a good surface or backdrop but you can also use it as decor for your set by cutting it into shapes or creating props from paper.
The downside of working with paper as a backdrop is that you need to be careful not to crumple it (as you’ll end up spending extra time editing out the wrinkles). You are also limited to the colours that the paper comes in (which might not be an exact match for your chosen colour palette).
Seamless paper
Paper set design
Paper props
MDF board
My personal favourite for product photography is MDF boards. The beauty of MDF is that you can paint it in the exact colour of your choosing. So it allows you to be in total control of your colour palette, and when you are finished with the board you can easily store it to use next time, or sand it down and repaint it in a different colour.
To paint my boards I use sample pots of paint which I usually purchase from the paint section at Bunnings. You just need to find the swatch for the colour you’d like, then take it to the counter and they will mix you up a small pot for between $5 - $10. This is usually enough to paint your board.
I used to work with 600 x 900mm boards with around a 10mm thickness. Although recently I’ve scaled up the size of boards which I’ve been purchasing and I’m really enjoying having the extra negative space around my scene to work with.
Once again you can use boards as backgrounds, surfaces or even third walls in your scene. You can also cut your MDF into shapes and segments to build interest in your scene. To cut the MDF you’ll need to use a jigsaw which is my new favourite tool (mainly because it makes me feel so handy!)
Tiles
I did an entire blog focused on creating tile backgrounds. You can check it out here. This is a new type of backdrop for me and I’m really loving playing with this new look. Because you will make this yourself you are in total control of the size, colour and look of your tile backdrop and you can create something quite unique and distinctive.
The downside is that this is quite a time consuming and (semi) expensive backdrop to create.
FABRIC
Finally we come to fabric and material backdrops. This is another great option for beginners as it is extremely easy to achieve a beautiful look with minimal effort.
One of the best things about using fabric for a backdrop is that it also adds a textural element to your scene and sets the tone of your image. For example, using silk or velvet can create a luxurious feeling. Using a wide weave fabric such as linen can create a more rural, earthy feel.
Again, you’ll be limited to the colours of the fabric that you can find however stores like Spotlight and Lindcraft have heaps of beautiful colour and texture options.
VINYL
The advantage of a vinyl backdrop is that its eay to clean so they are great if you are working with food or beauty products which can make a mess and need to be wiped off with a wet cloth. They can also be easily rolled up and stored in a small space and they come in a huge variety of colours and textures.
If you decide to purchase a vinyl backdrop I reccommend Everyday Co. You can use my coupon code: RACHELKIMBERLEY for 20% off your purchase.
Well, there you have it! I hope this has inspired you to experiment with some backdrops. If you do, please come on over and join us in the photography for makers facebook group and share your images. I’d love to see what you are making!


